In this overview
Create a New Cash Entry
Fill Out Cash Entry Form
Choose the Invoice Date
Enter the Payment Terms
Enter the Due Date
Select Payment Date
Enter a Payee
Enter a Reference
Enter a Memo
Create Tags
Complete Your New Cash Entry
Create a New Cash Entry
- Click on the button in the top right-hand corner titled + New Cash Entry

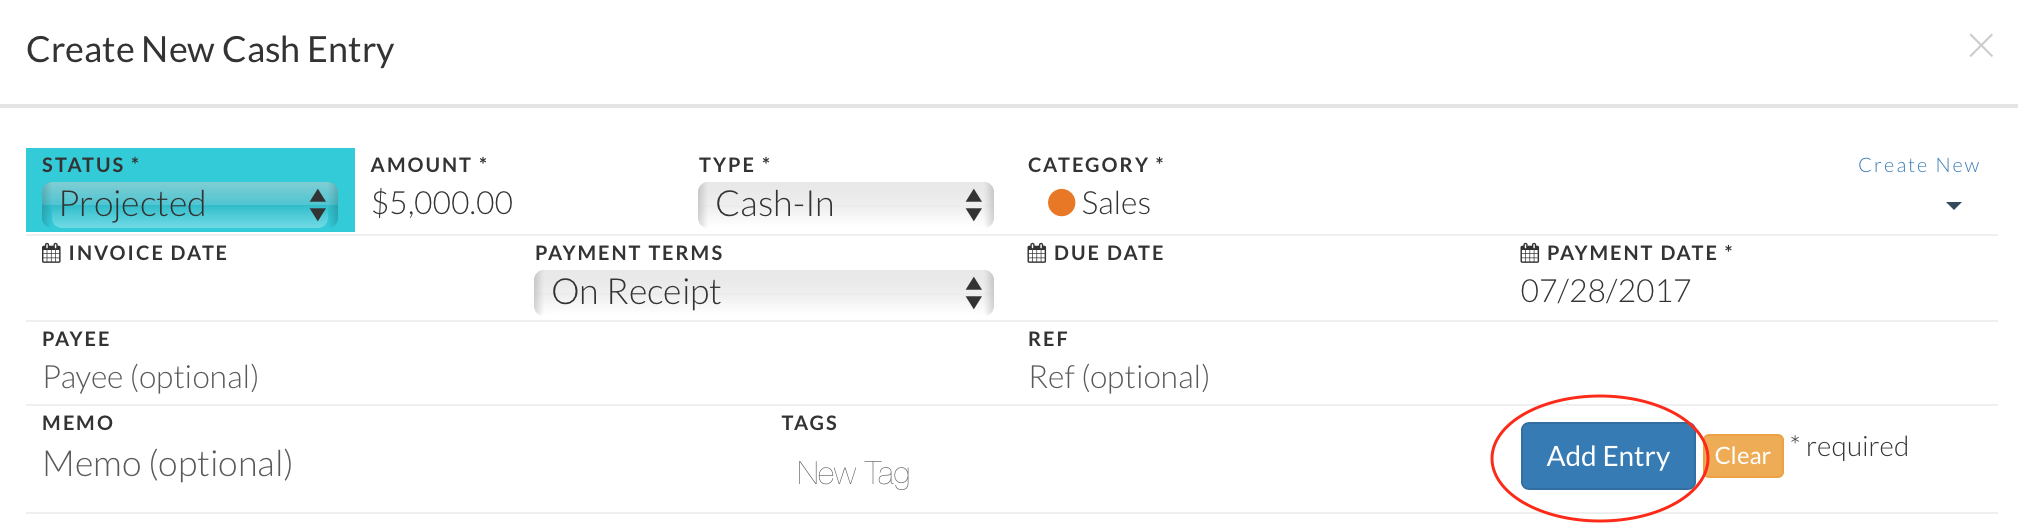
- After clicking on + New Cash Entry, the following form will pop up:
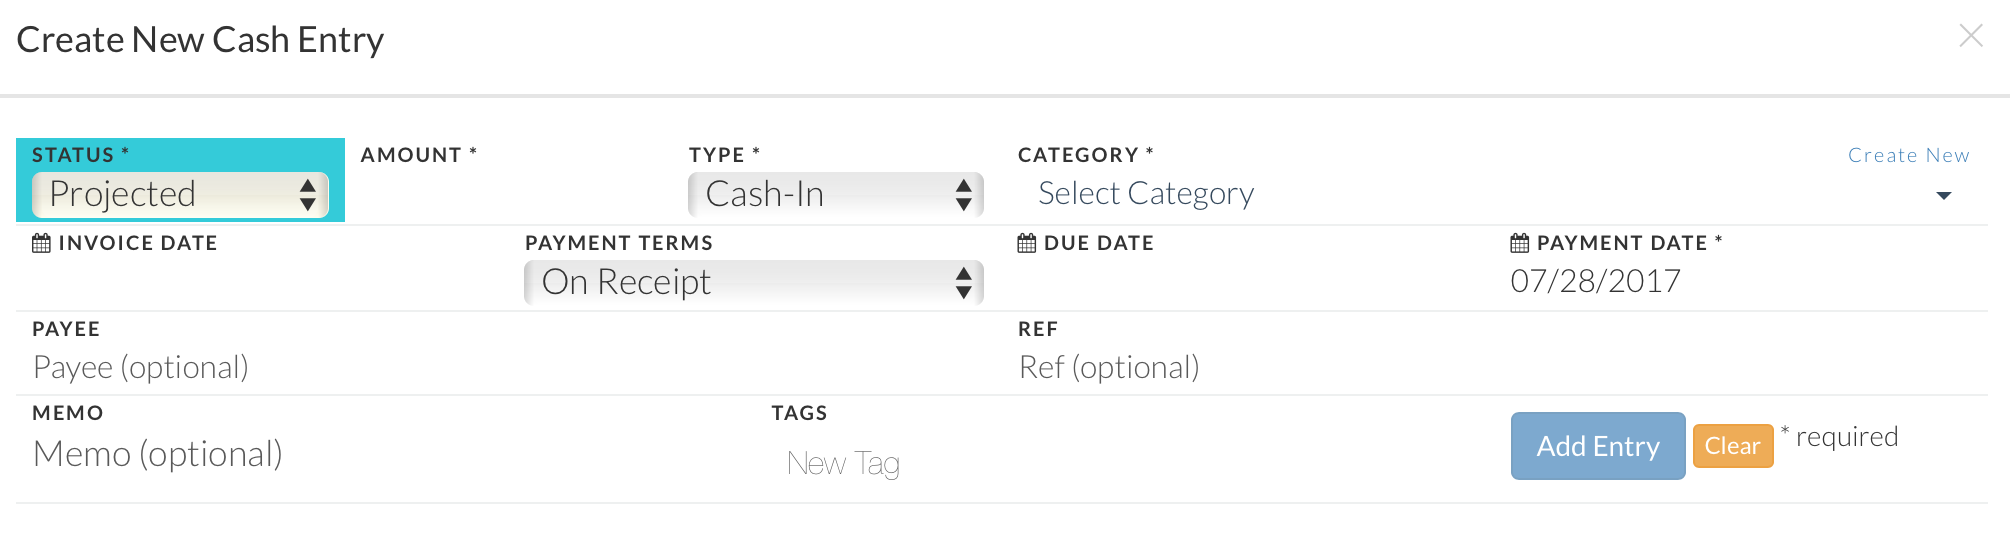
Fill out the cash entry form
The following four steps are required to be filled out.
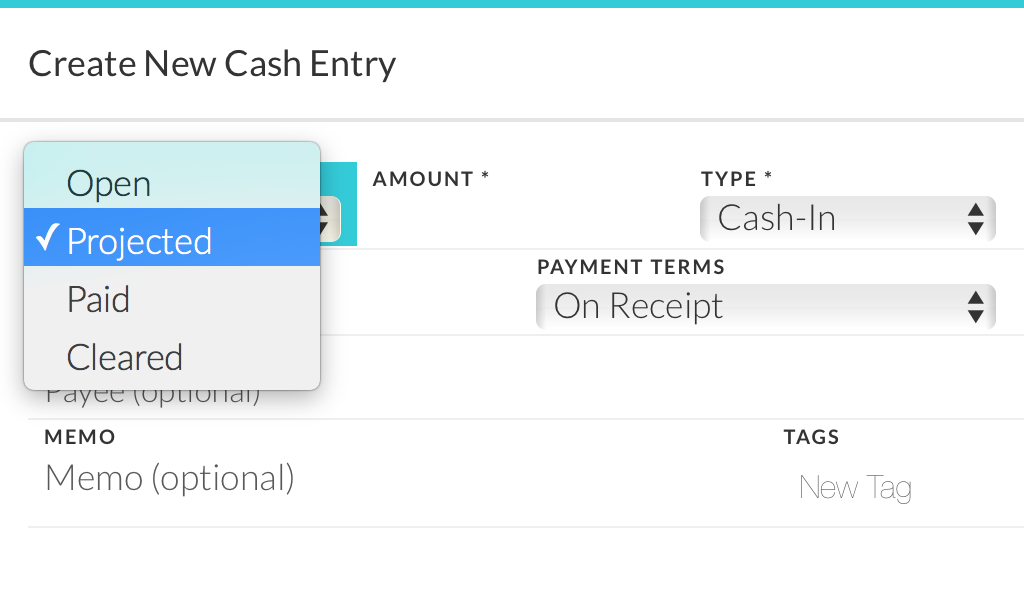
- Choose a status type, Open, Projected, Paid or Cleared.
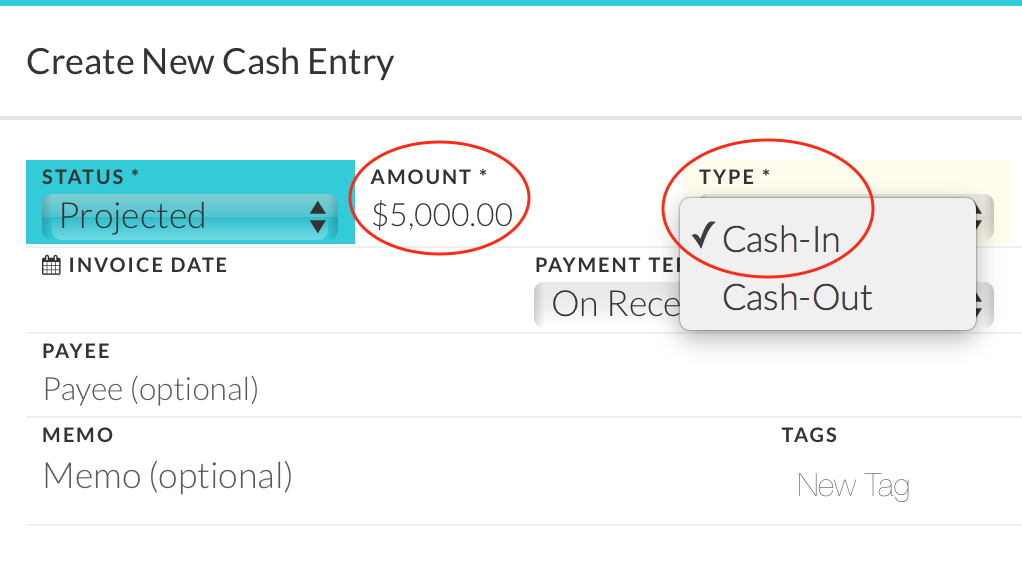
- Enter the amount of the entry and chose a cash type.
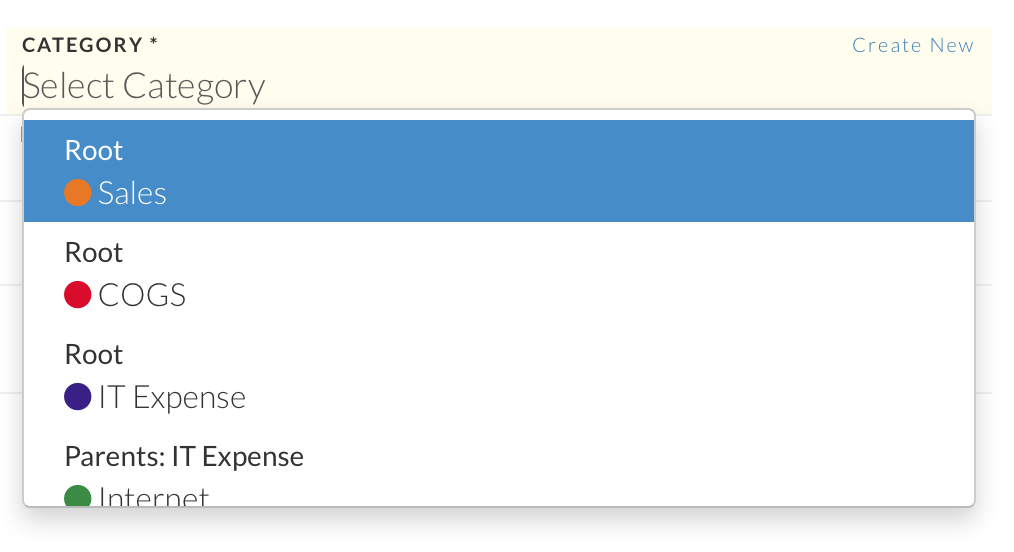
- Choose a category from the drop down menu. You can also create a new category if needed.
- Enter the payment date. You can do this manually or use the calendar to select a date.
The following details are optional depending on the type of cash entry you are entering:
Choose the invoice date
This can be done manually or using the calendar. For Open entries, this defaults to the current date
Enter the payment terms
Your payment terms may vary from invoice to invoice.
You can choose to set the payment terms to:
- On Receipt
- Net 15
- Net 30
- Net 60
- Net 90
Enter the due date
For entries that are Open, the due date will automatically be set, depending on your payment terms. For example, if your payment term is on receipt, the due date will default to the current date. If the payment term is net 15, the due date will set to 15 days from the current date and so on.
For all other statuses, enter the due date manually or using the calendar.
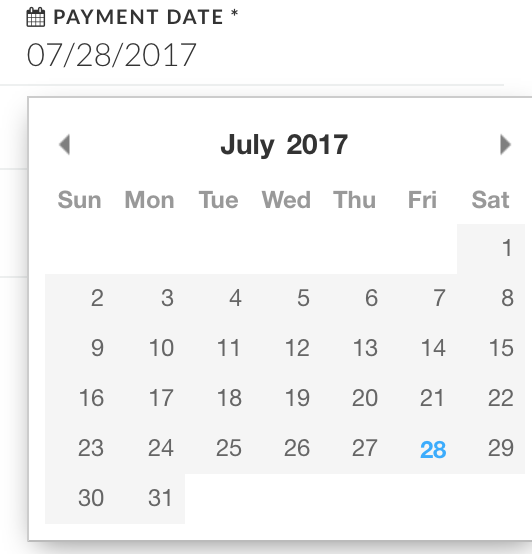
Select payment date
Enter the date your entry was paid on, or the projected payment date. You can enter this manually or use the drop-down calendar.
Enter a payee
Entering a payee name for your entry is optional, but can help you find entries later.
Enter a reference
Like the payee, this is optional as well. You can enter a reference number for easy cross-referencing to other software or tracking methods you are using.
Enter a memo
This is optional. You can type down notes for internal tracking and easy reference.
Create tags
Tags are for internal reference and help you filter and locate the cash entry you are looking for.
Complete your new cash entry
When finished, simply click on the blue Add Entry button to create your single cash entry. If you made a mistake and want to start over with a brand new form, click on the orange Clear button.
Related Articles
How Do I Input a New Projection?